You can absolutely get the following from the AWS help pages; but this is the lazy way to get everything you need for a simple single account setup.
Run the two commands below to drop the package on your Mac.
$ curl "https://awscli.amazonaws.com/AWSCLIV2.pkg" -o "AWSCLIV2.pkg"
$ sudo installer -pkg AWSCLIV2.pkg -target /
Then check the versions you have installed:
$ which aws
$ aws --version
Next you need to setup your environment. Note: This is NOT the recommended way (as it uses long term credentials).
The following example configures a default profile using sample values. Replace them with your own values as described in the following sections.
$ aws configure
AWS Access Key ID [None]: AKIAIOSFODNN7EXAMPLE
AWS Secret Access Key [None]: secretaccesskey
Default region name [None]: af-south-1
Default output format [None]: json
You can also use named profiles. The following example configures a profile named userprod using sample values. Replace them with your own values as described in the following sections.
$ aws configure --profile userprod
AWS Access Key ID [None]: AKIAIOSFODNN7EXAMPLE
AWS Secret Access Key [None]: secretaccesskey
Default region name [None]: af-south-1
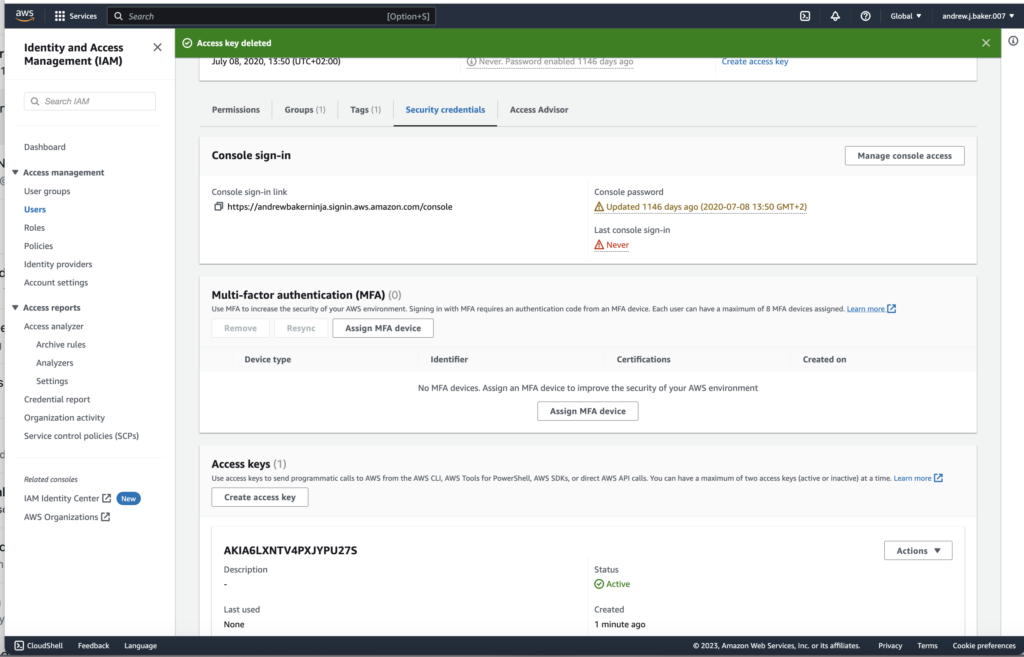
Default output format [None]: jsonGet your access keys
- Sign in to the AWS Management Console and open the IAM console at https://console.aws.amazon.com/iam/.
- In the navigation pane of the IAM console, select Users and then select the
User nameof the user that you created previously. - On the user’s page, select the Security credentials page. Then, under Access keys, select Create access key.
- For Create access key Step 1, choose Command Line Interface (CLI).
- For Create access key Step 2, enter an optional tag and select Next.
- For Create access key Step 3, select Download .csv file to save a
.csvfile with your IAM user’s access key and secret access key. You need this information for later. - Select Done.